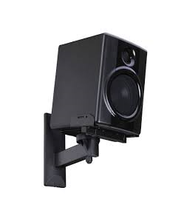
For this project, we were given a problem and told to solve it in a unique way. Our teacher has speakers in his room because he likes to play music in his classes. The problem in these speakers are fastened to a wall by nothing but a plank of wood and a few screws.
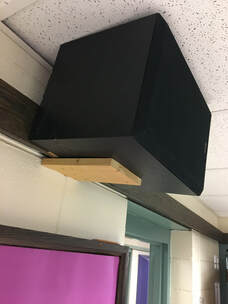
This leads to things being rather unsafe so we got told to design a project that would be more secure and be cooler. The constraints we were given were that it had to fit in our makerbots so a prototype could be 3D printed and that we couldn't use any 90 degree angles. Our last constraint was that we had to find 5 designs for a similar product on the market
|
|

|
|
|
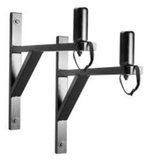
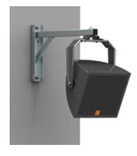
These were the 5 speaker mounts I found when I was looking for ideas. I liked the 3rd and 4th designs the best and those two were the main inspirations for my three designs that I went through.
First Design
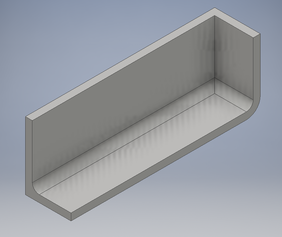
This is my first design. My plans were to have one of these on the bottom corners. I made this on a Friday, and after a weekend of shower thought I decided that I wasn't a fan of this design. To me, this design was too simple and uninteresting, but it was a good first step toward making something actually interesting and cool. When I started my second design I wanted something that was going to be more than a boring hunk of plastic.
Second Design
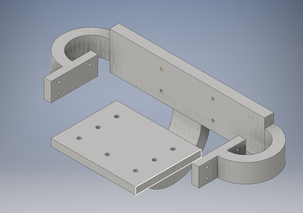
This is my second design. I thought this design to be much cooler than my first. I was thinking that this was going to be a really cool. It had these cool arm like parts with platforms on them and everything. I was getting ready to print, but I hit 2 major stumbling points. Firstly, the part didn't fit in our printers. Secondly, our teacher reminded us that warping was a big problem with our printers and that usually a better idea was to print two separate parts so warping wouldn't be as big of a problem. Those two things were major pushing points for my final design.
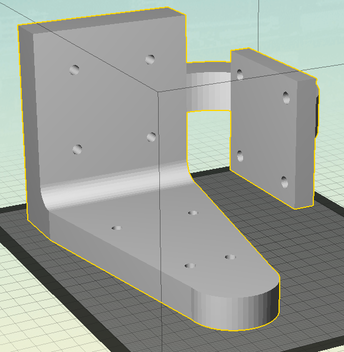
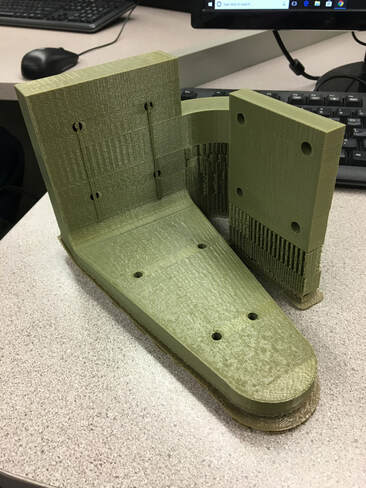
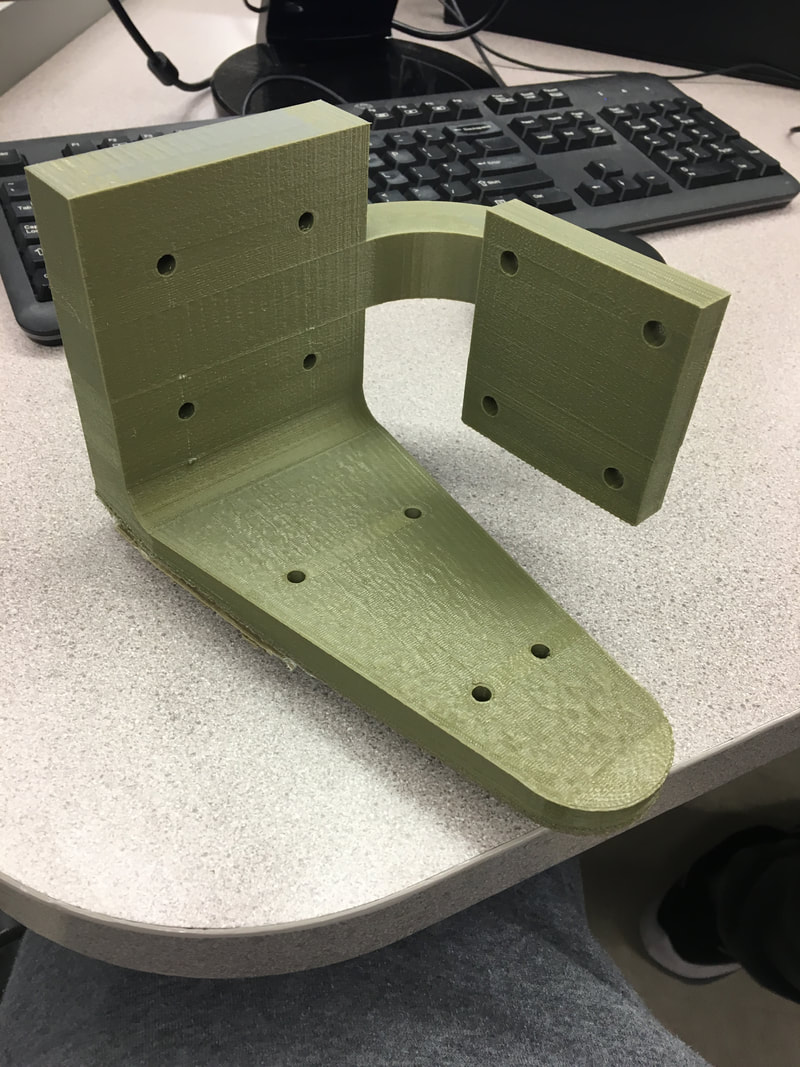
Final Design
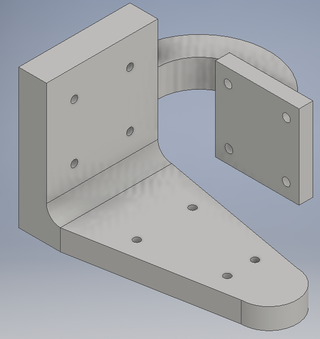
For my final design, I want to capture most of what was cool about my second design while still making it feasible. I decided to get rid of the bottom arm and more or less cut my project in half. I made the back plate cover the whole board that we could screw our projects into. I wanted to keep the side platform because I think it's cool and sets my project apart from other projects. Overall, I like this design a lot more than the first design and it was a lot easier to print than my second design
printing
To print our projects off, we needed to convert it from an Inventor file to a Makerbot file. We had to save our .ipt file as a .stl file and open it with Makerbot. Once it's in Makerbot, we needed to scale it to real size and orient it to print properly. Once we had it all set up, all that was left to do was to print it.
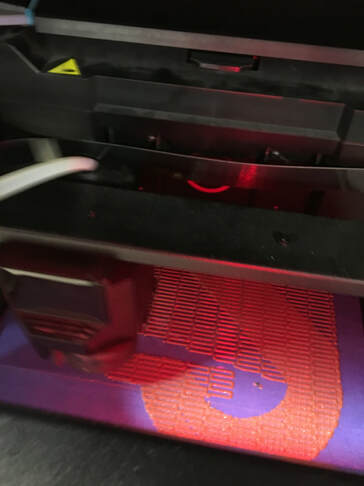
During printing
|
|
What I learned
Overall, what I learned from this project is to not be afraid to fail. My first two designs failed, but those failures lead to a final product that I'm much happier with. This project went from one I really didn't like to one I ended up thinking it was a unique and cool project that I liked in the end. It helped to remind me of some things that will help when I'm printing for my final project. It also taught me its ok to just step away from a project if I hit a road block or if I'm not finding it fun.
