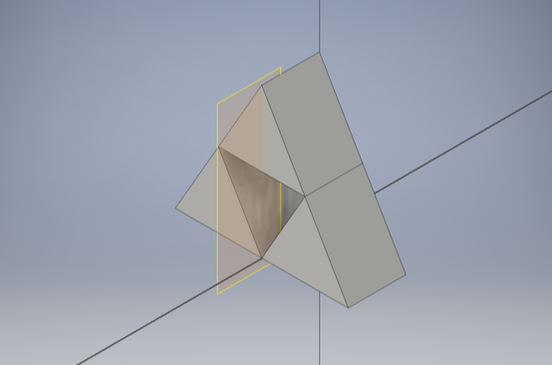
For this project I needed to make a decorative phone holder. My idea for this project was to take a logo for something I liked, add a platform to the bottom to hold the bottom of the phone, and make the logo itself hold up the phone. I got this idea from a design I saw online of a similar concept using the Avengers logo. I decided to use the Triforce logo from Legend of Zelda.
Before going in to Inventor, my plan was to make 3 triangles stacked on top of each other, add a platform below them, and add a few divots for holding the phone and allowing for charging.
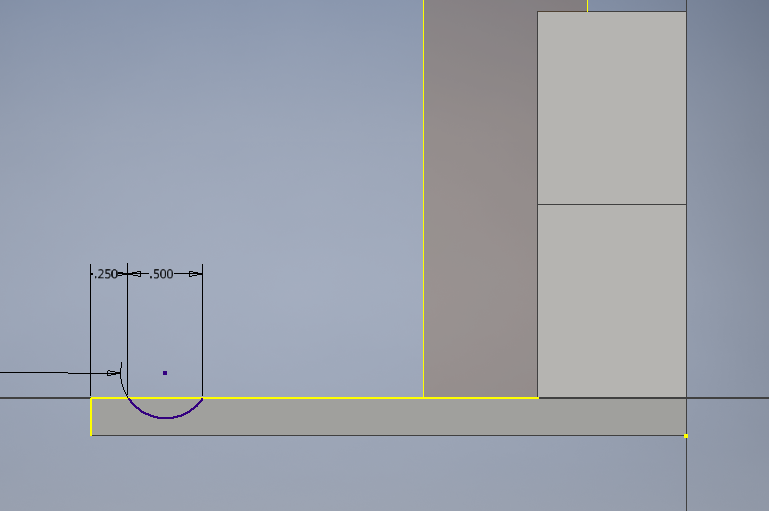
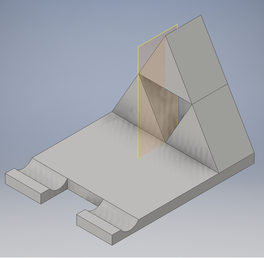
I started making 3 equal triangles and arranging them so that they stacked to make the logo and extruded them out. After that, I added a rectangle below the triangles and extruded out the platform. On that platform, I made a sketch of a circle that covered part of the platform and extruded it through to make a dip in the platform to hold the bottom of the phone. After that, I added a gap where the dip is so that the phone could be charged while in the stand. All that was left was for me to put it into makerbot and to print it off.
|
|
|
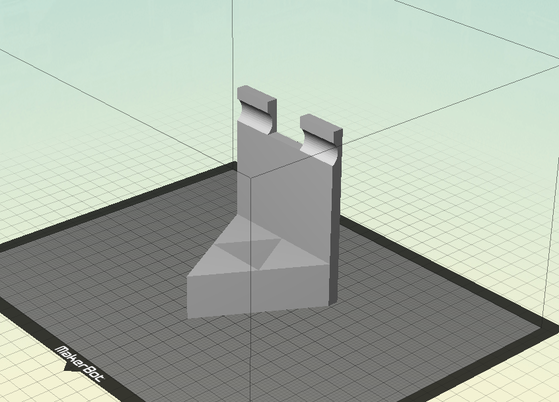
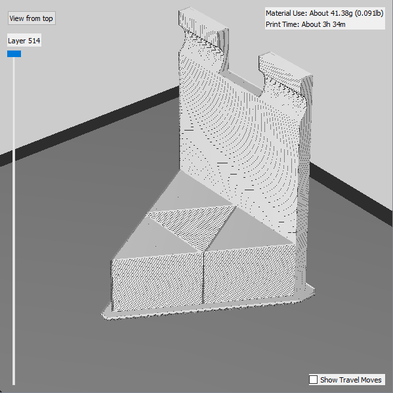
Here is my file in makerbot with the print preview.
|
|
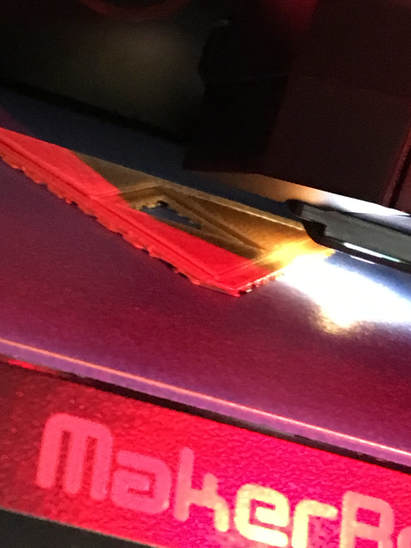
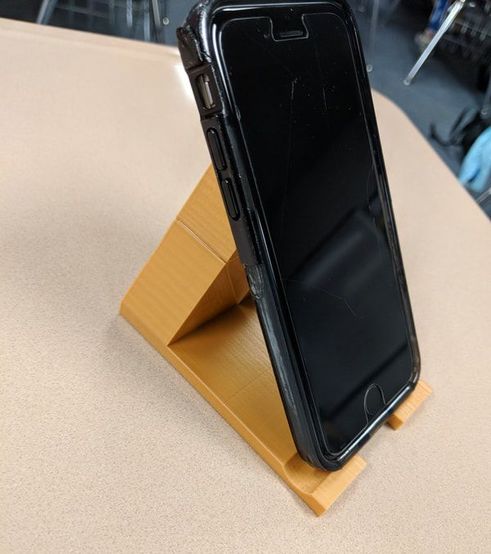
Here's the product being printed and it holding my phone after it was done printing.
|
|
What I learned from this project is how to turn an idea into a physical design. Before, all we printed off were little widgets that don't have any use besides showing off a cool thing I 3-D printed. Now I get to show off that I 3-D printed something with a design that I like and that has a functional purpose. Now, every time I leave my phone to charge, I set it in this holder because I enjoy how it looks holding my phone. I also learned more ways to use and maneuver Inventor through making some more unique shapes.
